I’m so sad. I need a support group! I’m saying goodbye to my pretty flowers. One of the reasons I take a break sending out leaves in the winter is because I really love letting my plants come into bloom, and I have to say I’ve been loving this winter’s bloom cycle! The plants that I put on wicks have done very well and really went crazy with the flowers. On some of the plants, this winter’s bloom bouquets were some of their biggest ever. But now…all good things must come to an end, right? If I want any hope of having show plants for the Illinois state show in April, it’s time to say good-bye to all the blooms, repot one more time and begin disbudding. BOO-HOO!
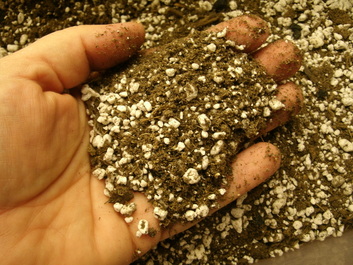
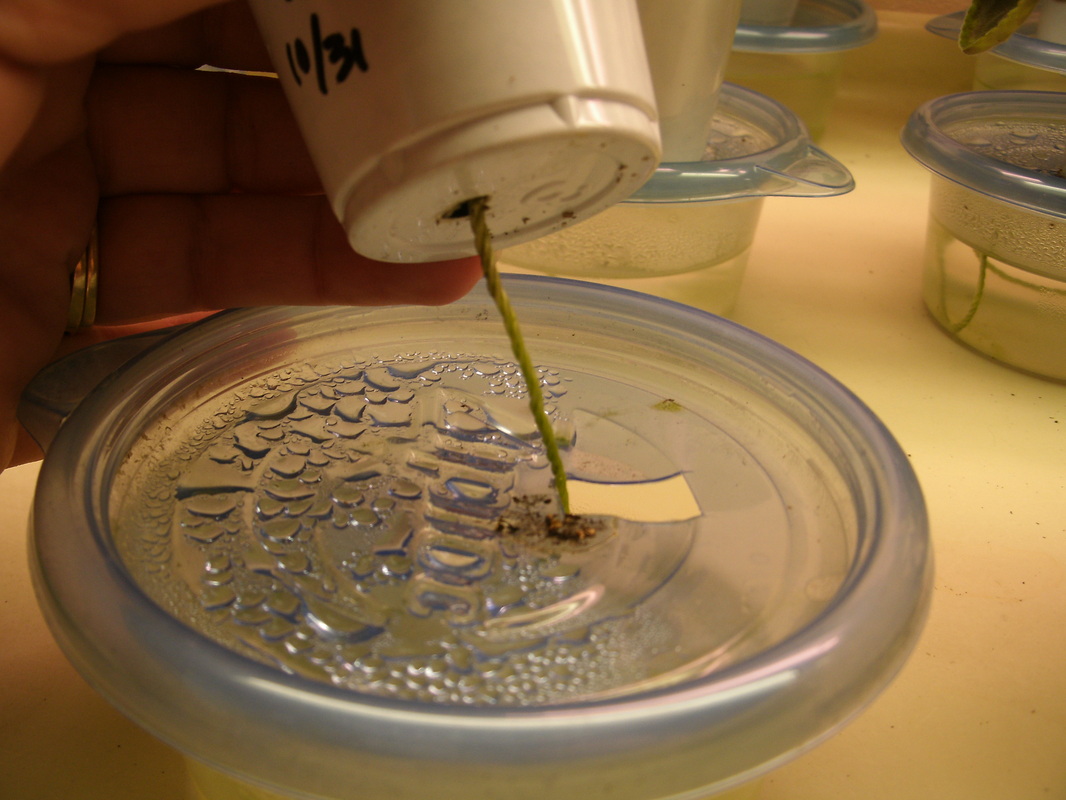
Now that my new shipment of potting mix from Cape Cod Violetry has arrived, I have begun the process of repotting several plants that I hope to have a chance of showing on April 6th in Moline, IL. It’s been a very, very long time since I’ve had any plants in a judged show. I hope I don’t embarrass myself! Well, honestly, I just hope I have some plants to show to make it worth my trouble and the trip to travel there. While I know I can grow nice plants, I’m no longer as confident as I used to be about timing the bloom correctly. I’m a little bit loose on the 12-week schedule; I repot and disbud about 12 weeks out, but then I always waiver on when to stop disbudding. I’m always either too early or too late, and it never fails that what is about right for one plant isn’t even close for another. It’s all part of the learning curve.
I know many growers like to pick and choose which plants they prep and plan to show. I’m not that good, folks. I realized a long time ago that I couldn’t really do that. For one reason, different plants grow best in different locations on my stands, so I don’t want to move them around just so that the show plants are all grouped together. But if they aren’t, I’m not going through the trouble of putting little colored flags on them or marking the pots with different labels. It’s just not gonna happen! That sounds like too much work to me. So, what I do is repot most of the plants that, for me, have a history of shaping up nicely and blooming well. I am pretty much of the mind that the more plants I repot and prep, the better my chances at having something to show in time. Law of percentages, right?
So, even though it’s only January, I’m having thoughts of grandeur, acclaim and Best in Show rosettes right now. I know it’s not impossible, so I’ll prep a few plants and keep you informed of their progress. In the meantime, bye-bye pretty flowers. It’s been lovely.
So, even though it’s only January, I’m having thoughts of grandeur, acclaim and Best in Show rosettes right now. I know it’s not impossible, so I’ll prep a few plants and keep you informed of their progress. In the meantime, bye-bye pretty flowers. It’s been lovely.
Here's my Rob's Whippoorwill going through the process.
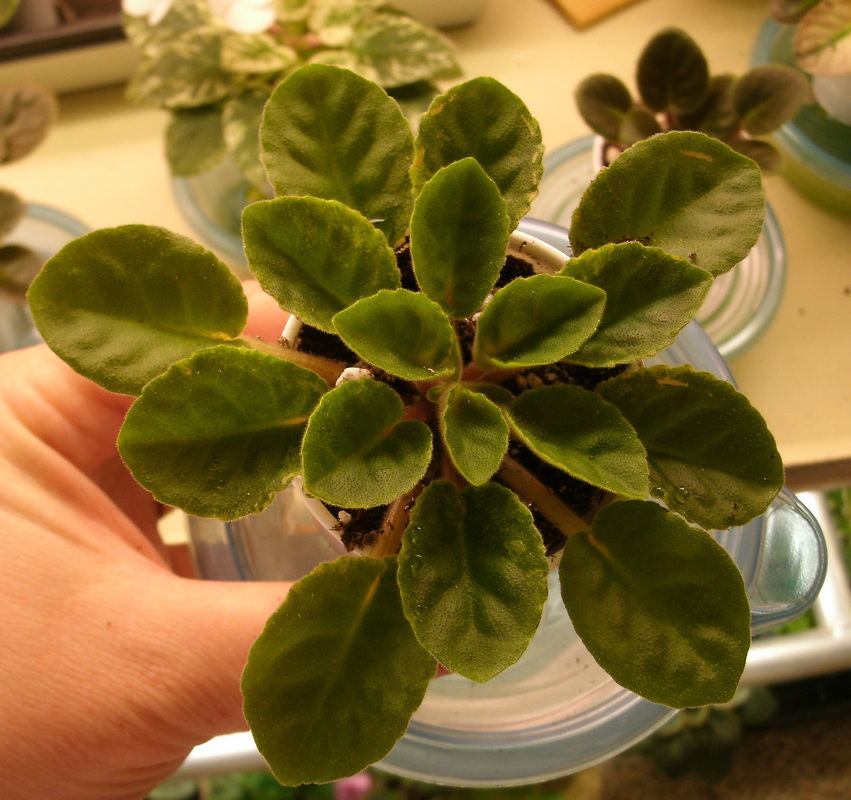
Here's the plant before.
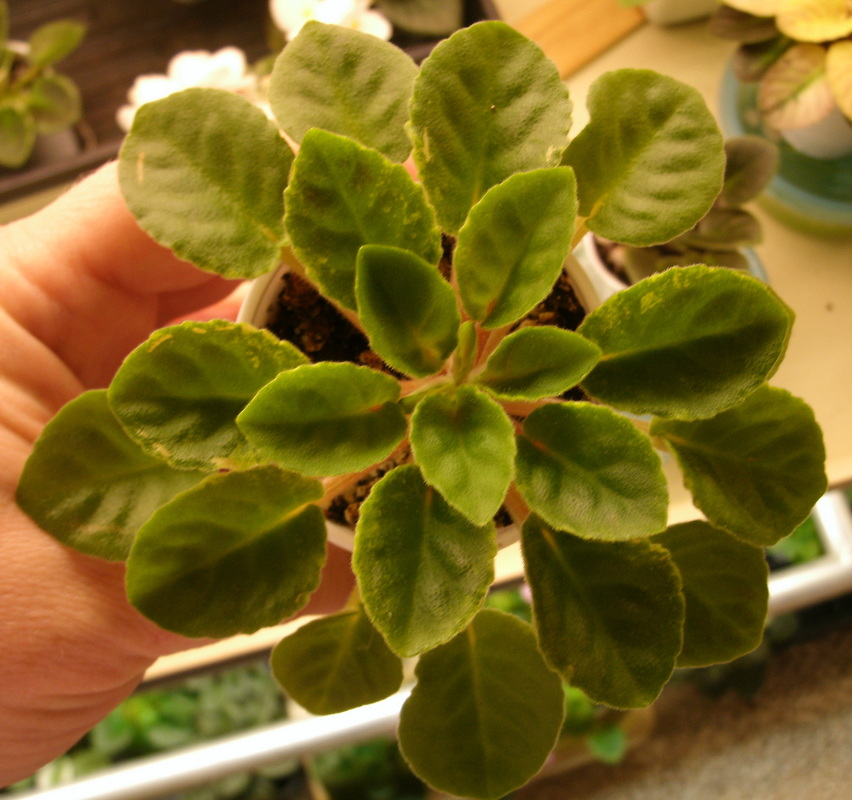
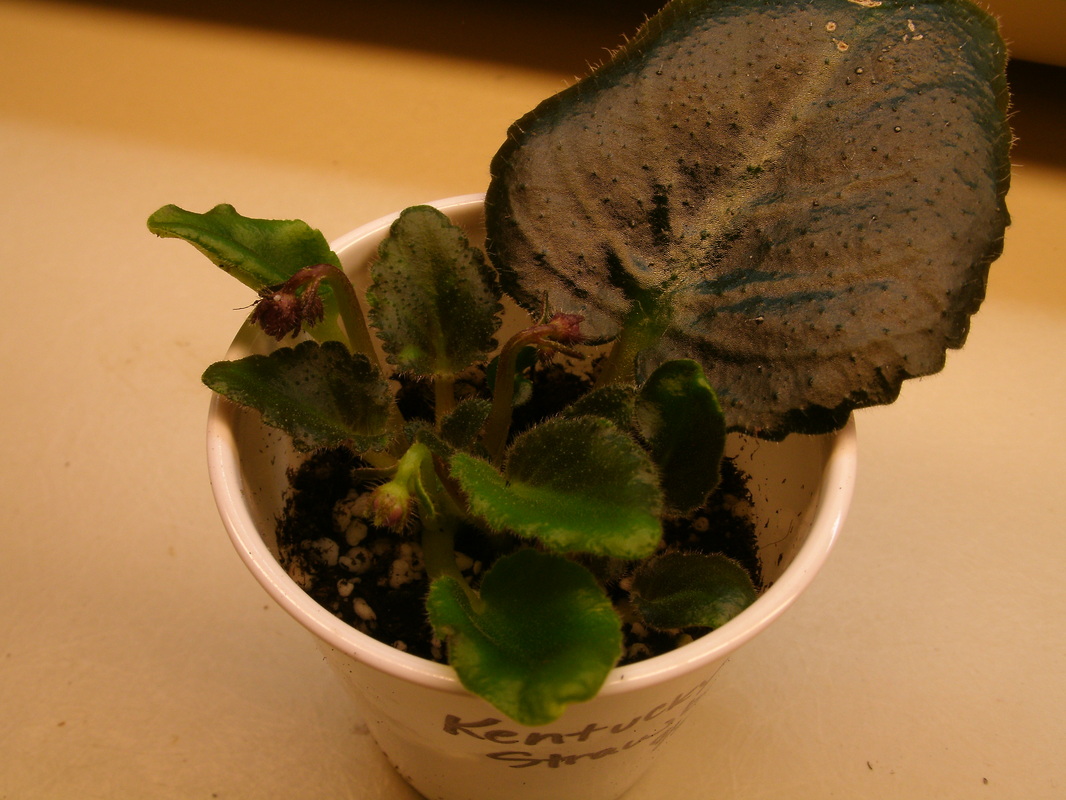
And here she is after I've removed some older leaves and repotted into fresh mix. She will go back on the wick, and I'll continue to disbud for several weeks.
| 
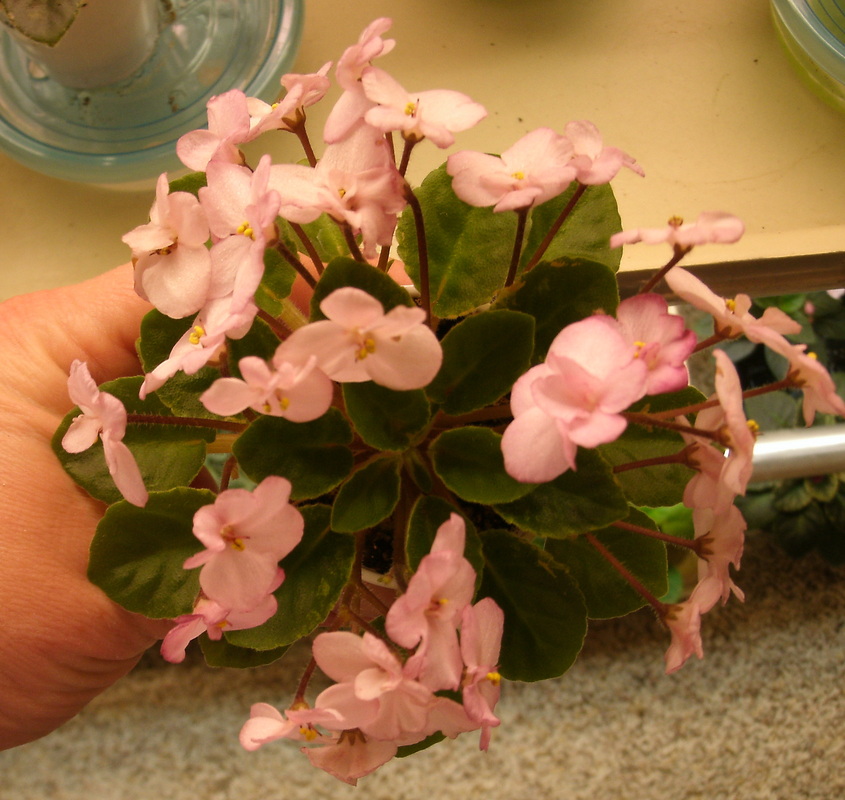
Here she is after plucking all the flowers off. :( sniff, sniff.
|

 RSS Feed